
A Me-Made Wardrobe: Part 1

Table of Contents
Goal Setting & Designing
Last year, I set myself a goal: no buying new clothes. If I wanted something to wear, I had to make it myself. Did I adhere to this? Not completely, but I came pretty close. I've never been one to purchase a lot of brand new items—fast fashion didn't quite fit with my...eclectic style. In high school, I was always buying strange things from various thrift stores. Did I look a bit unhinged coming to class wearing a floor-length velvet cloak? Absolutely. Did it teach me not to care what other people thought of me? Also yes (at least when it came to fashion.) Not buying new also had the added bonus of not supporting an industry of waste, poor construction, and endless cycles of 'trends.'
And so, I began by digging through my stash and letting my fabric decide what it wanted to be. My fun, vintage striped fabric needed to be something with pleats. All my scraps of japanese silks harvested from old kimonos would be a cool, asian-inspired patchwork shirt. The wool tartan my mom and brother brought me back from Scotland would be a matching vest and skirt set. Funky clown fabric made for the perfect pajamas.
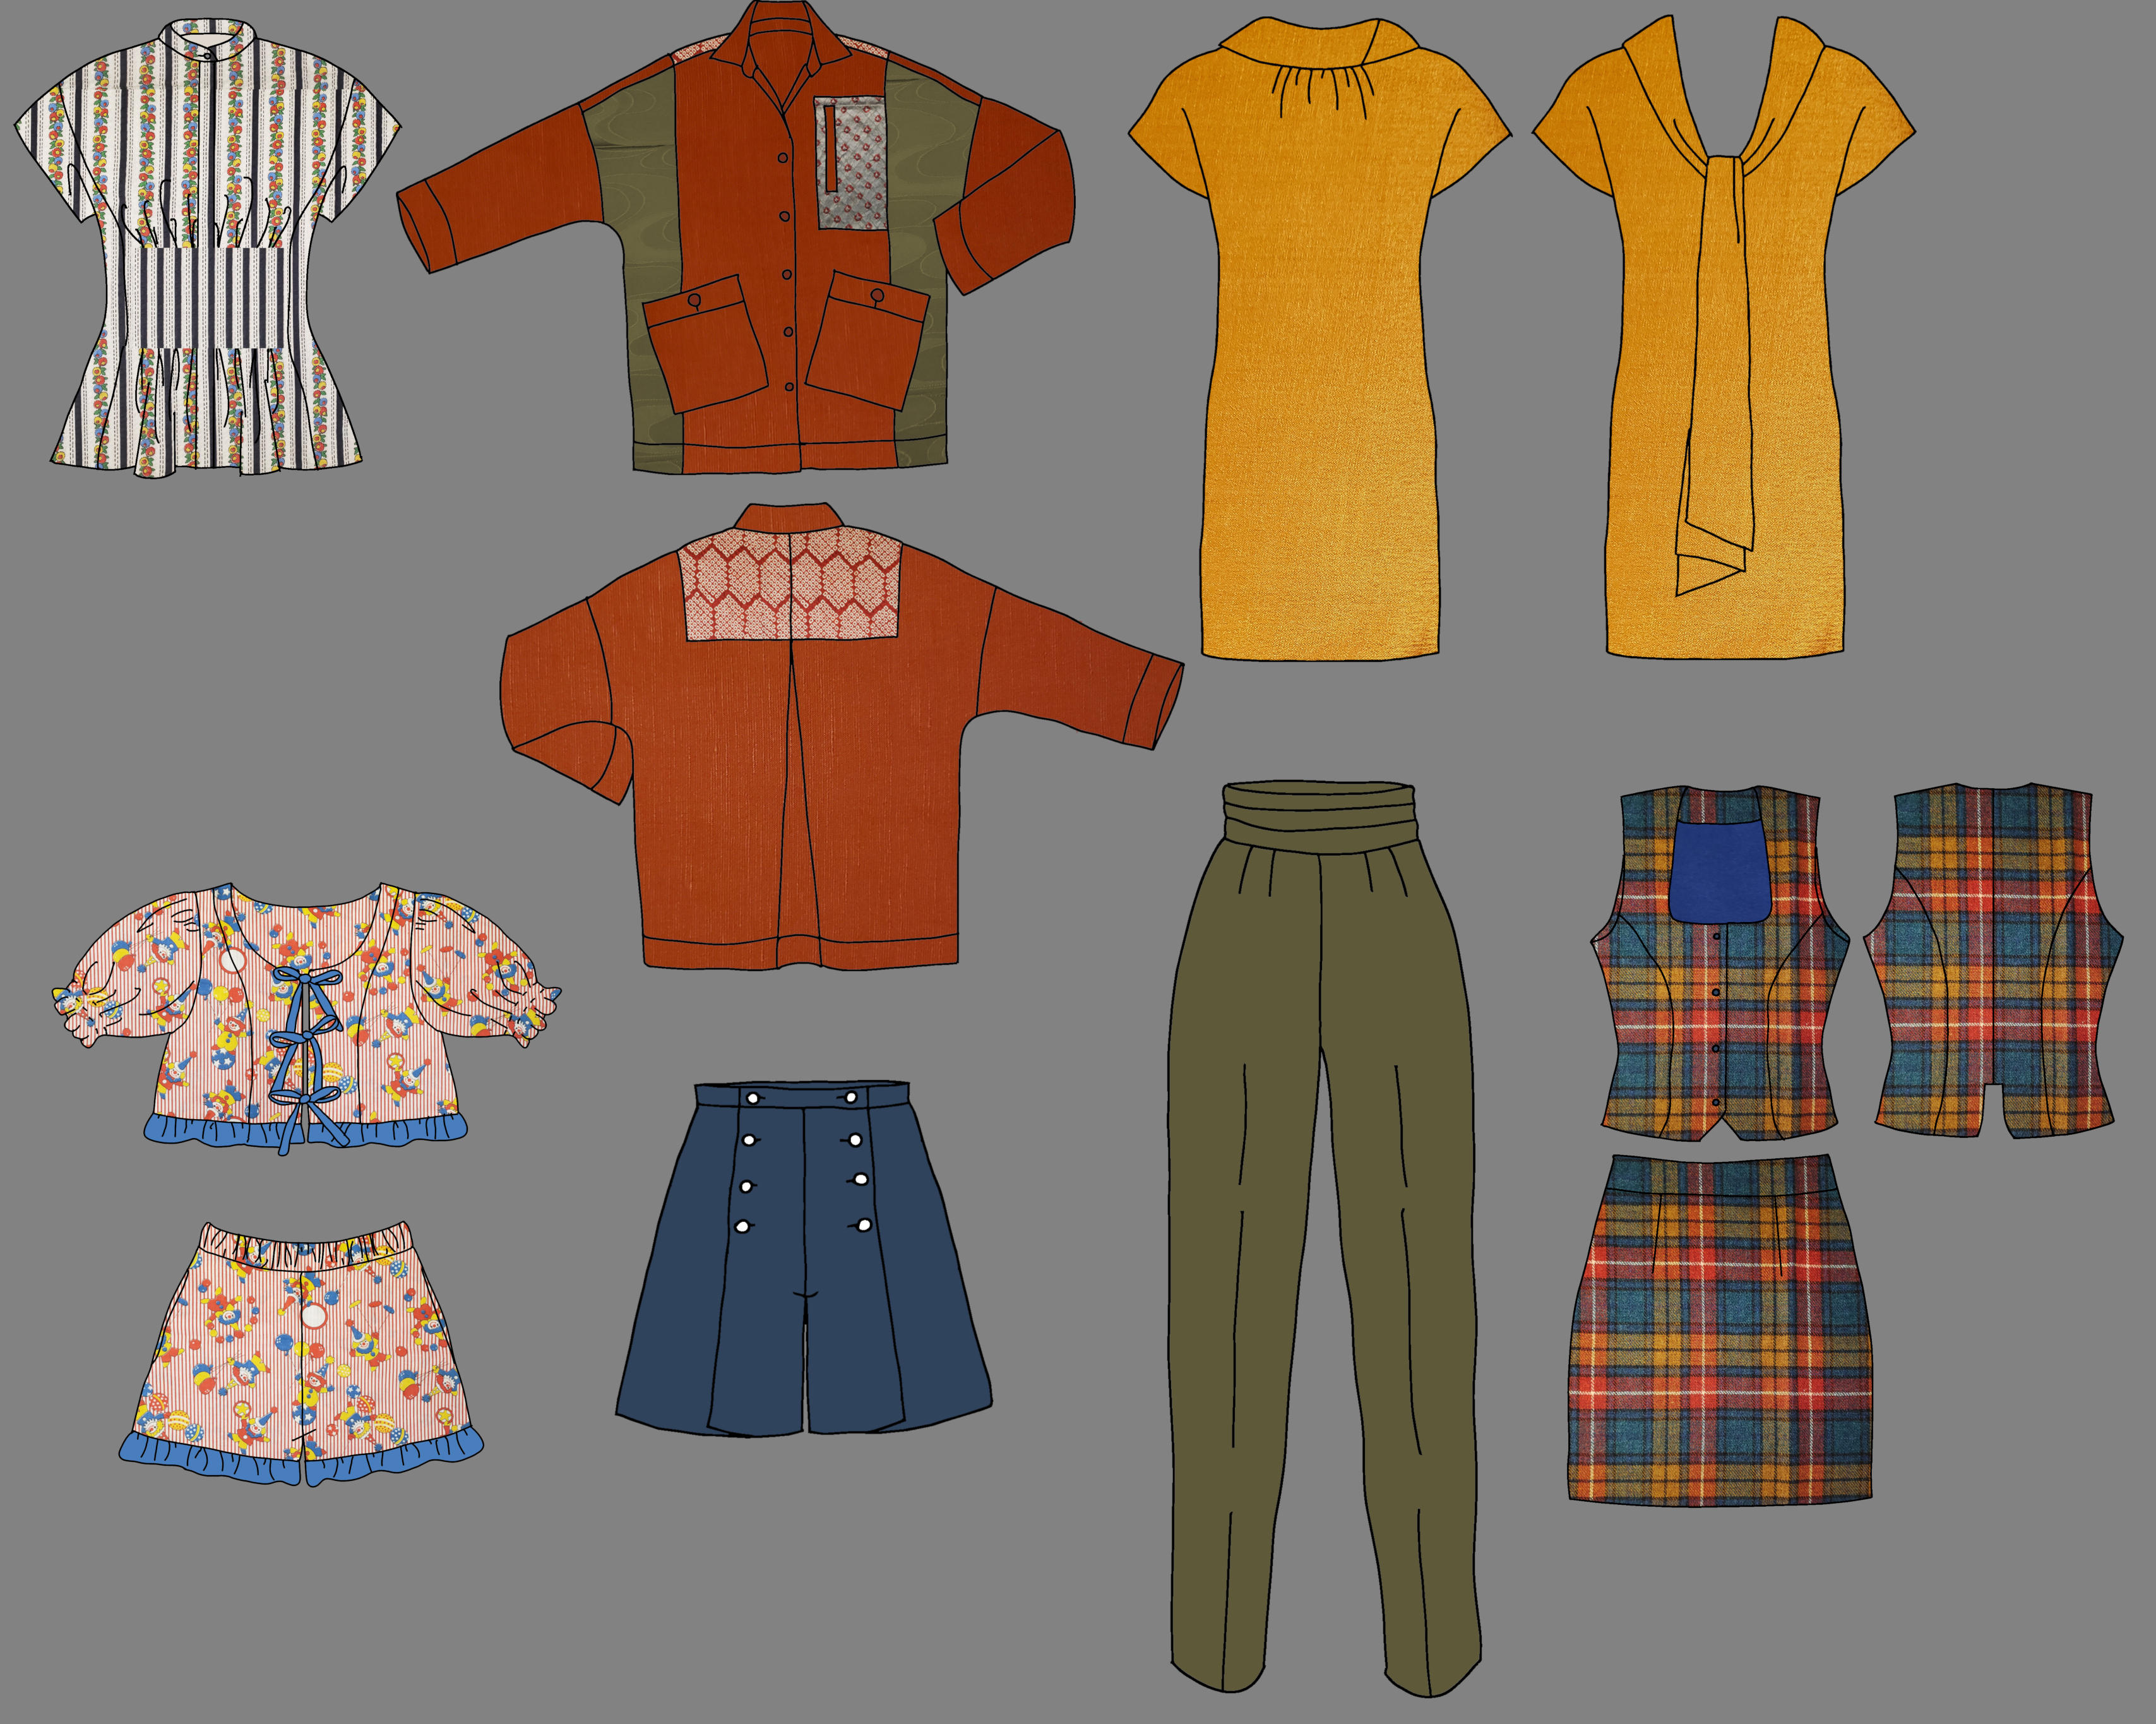
I started by finding patterns I liked for the ideas swimming in my head, or digging through my stash of patterns I already owned. I opened the pictures of the flats into my trusted, free image editing program, GIMP. From there, I selected the outlines, turned them into 'paths', took pictures of my fabrics, shrank them to a size that seemed to roughly the same scale as the flats, and "colored in" the flats with my fabrics. The result is as you see below:
Red Linen and Kimono Silk Shirt
The first project I tackled was the red linen shirt with kimono-silk accents. I would be visiting Japan in a couple months, and wanted something to wear on my trip. The pattern I used was one I found while at the local sewing convention in my state. The Cutting Line Designs Pattern #86111. I LOVED this pattern. The instructions were so detailed, and the finishes made sure the garment would be built to last. It even taught me some sewing hacks that I continue to use on my other projects. (Like putting folded fabric of equal thickness under the back of the foot when going over a chunky section. Genius! How had I never thought of that before?)
To preserve all of the sizes on my paper patterns, I always transfer the size I wish to make onto a separate piece of paper using wax transfer paper and a pattern wheel. I first made a muslin out of bedsheets to make sure the fit was okay, and to practice before trying the real thing on my fashion fabric. I'm glad I did because it made me realize a few things:
- The yolk on the back was not actually a separate piece—at least not on the outside. The stitching line you see on the flat is actually from sewing an inner yolk that covers the raw edges of the back seam. Thus, I would need to cut out two yolk pieces: one for the inside made from the red linen, and another out of the silk if I wanted to stay true to my original 'sketch.'
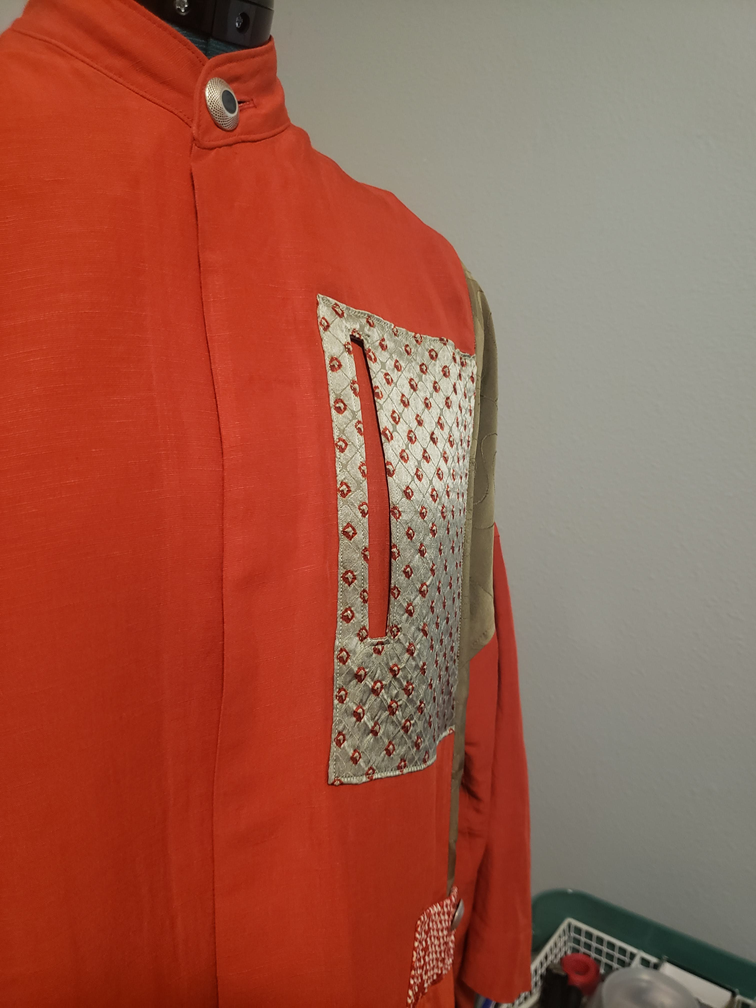
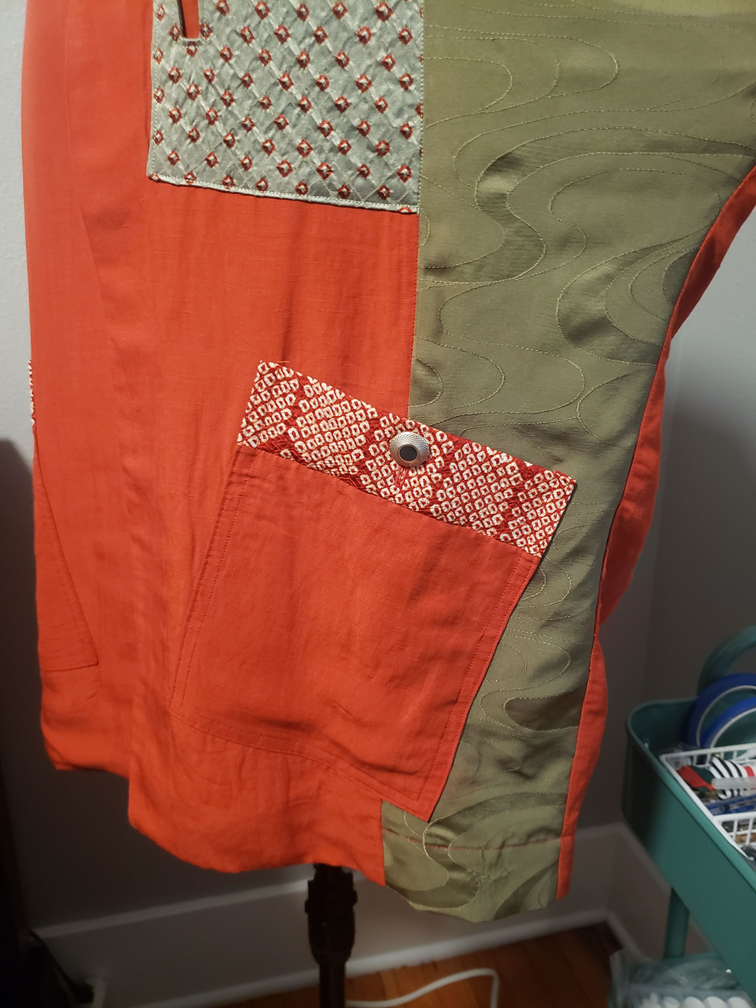
- Similarly, the front breast pocket was not a separate piece on the outside, so I would need to create a pattern piece with a pocket slit if I wanted it to be a different color.
- The pattern instructions use a lot of fusible interfacing, which I have grown a distaste for. Too many times have I used fusible, only for it to lift and bubble after a couple wears. Maybe that is user error, but I still avoid it if I can. And so, I would have to flatline many of my pieces with a medium weight linen prior to sewing instead.
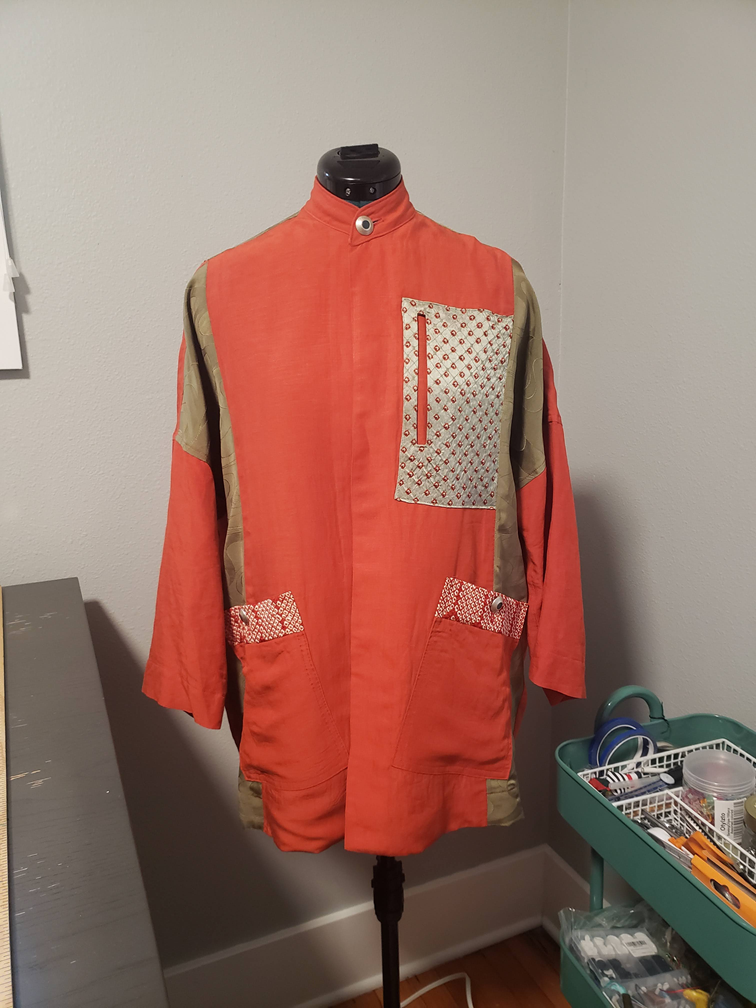
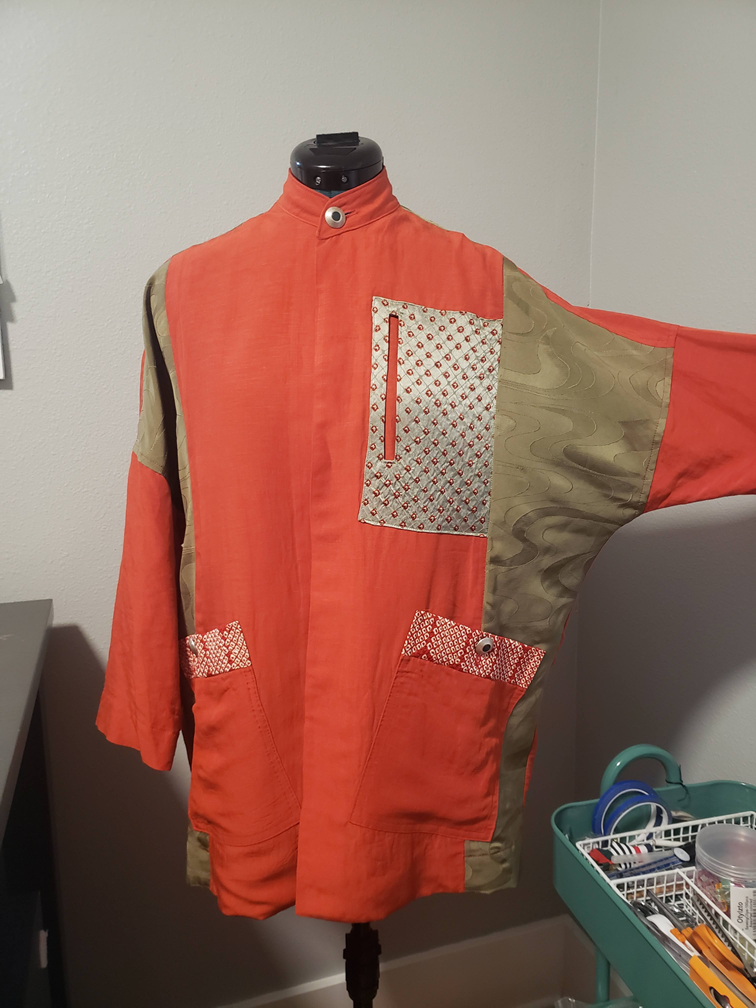
With my gameplan set, I then began making the final version. I made some changes to my original idea due to constraints/preferences. I had to use a different fabric for the yolk since the scrap of red silk with hexagonal dot patterns was not wide enough. I went with the same green that I used on the front-side panels. I also still wanted to use that red-dotted silk somewhere, so I added it to the tops of my patch pockets. I forewent adding the collar piece for a mandarin style collar—to make it slightly more east-asian inspired. Instead of doing buttons all down the front, I only put one at the collar, because I thought it looked more chic that way (and also maybe because I didn't have enough of the buttons I wanted to use :P).
Luckily I finished the shirt before my trip and got to wear it in Japan!
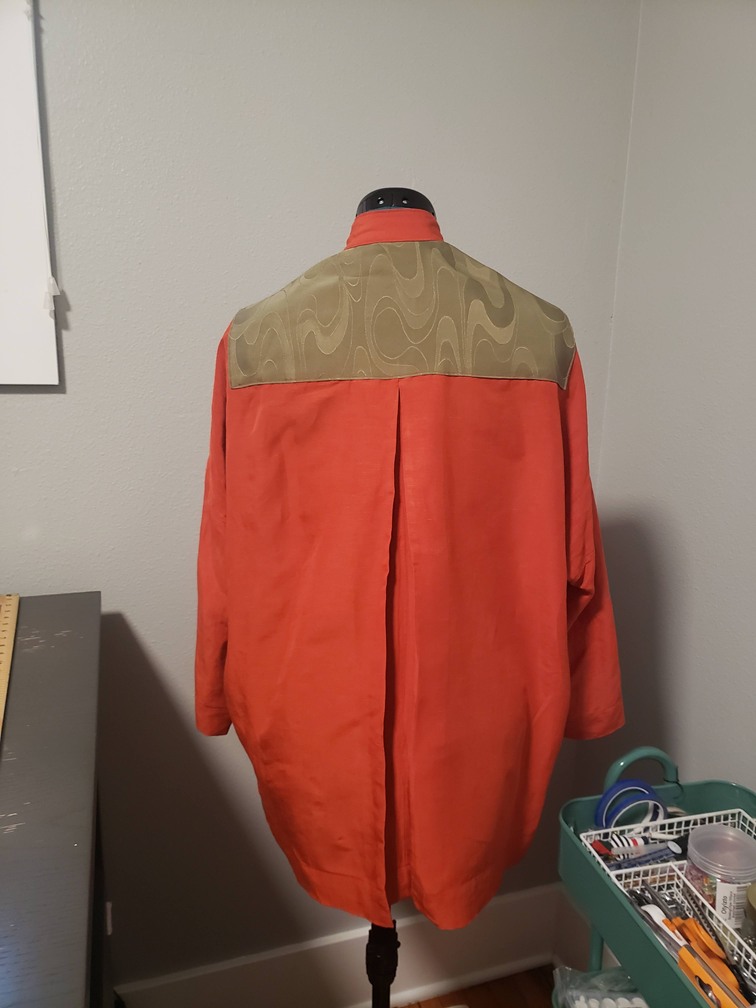

One thing that bothers me about this shirt is the fact that the back pleat keeps curling outward—probably due to a combination of fabric choice and the way the fabric wants to pull toward the sides. No amount of starching and ironing gets it to lay completely straight. If I were to do this again, I would probably choose a stiffer linen or cotton, maybe even a light denim. Aside from that, I am happy with how it turned out.
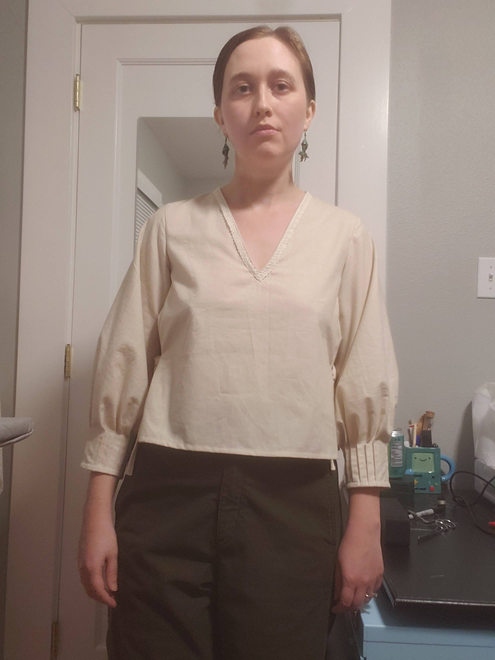
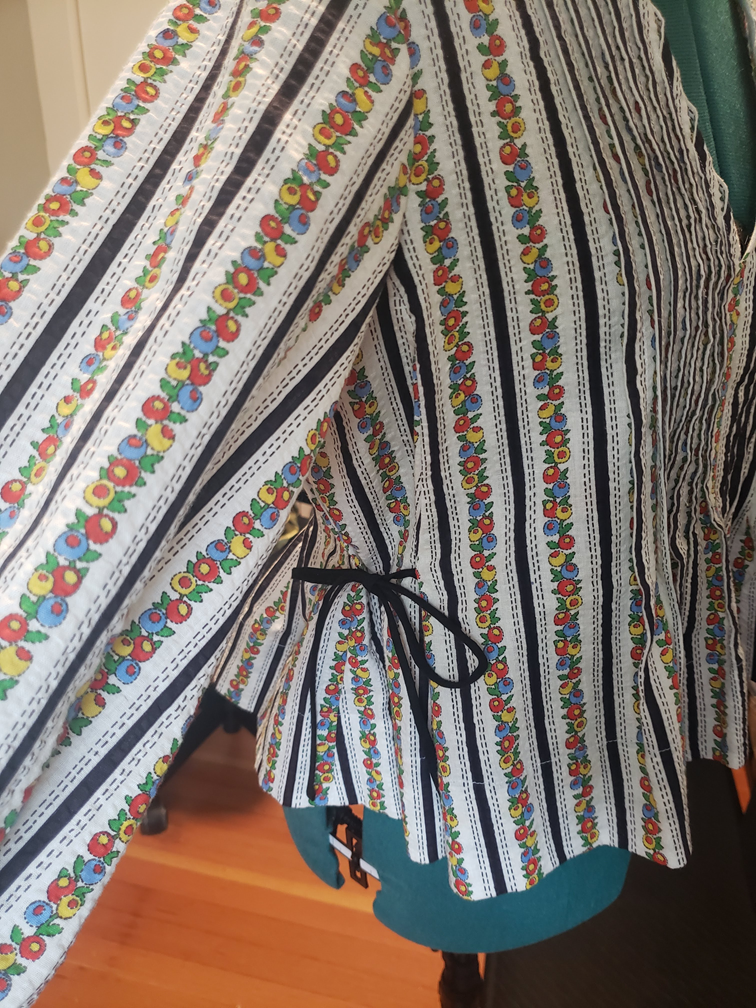
Pleated Stripey Blouse
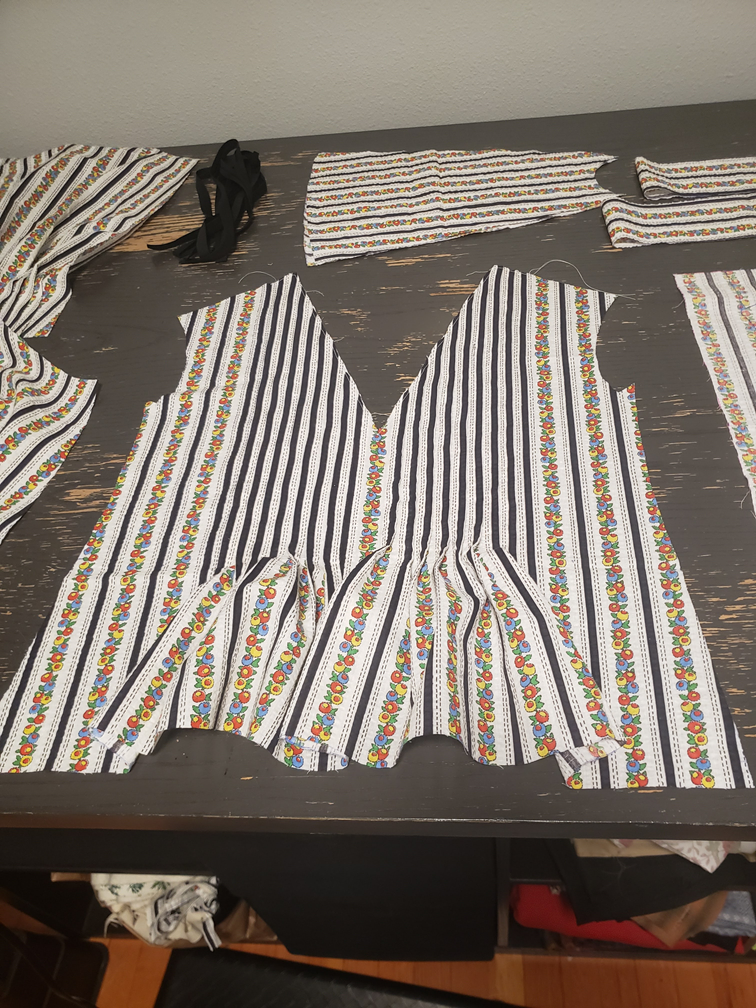
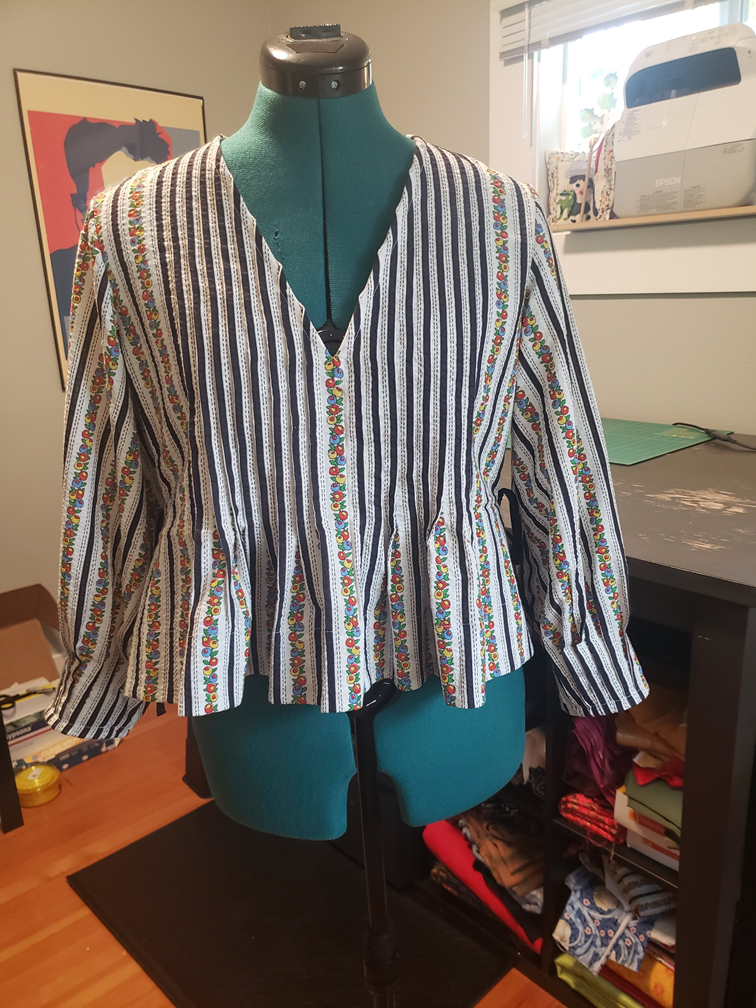
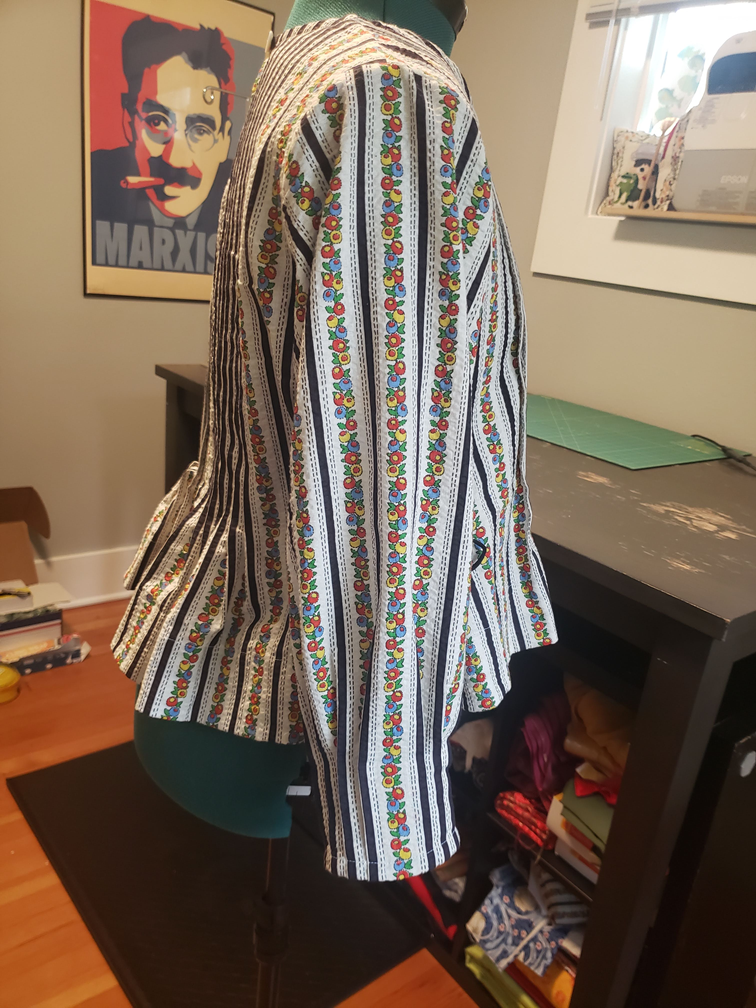
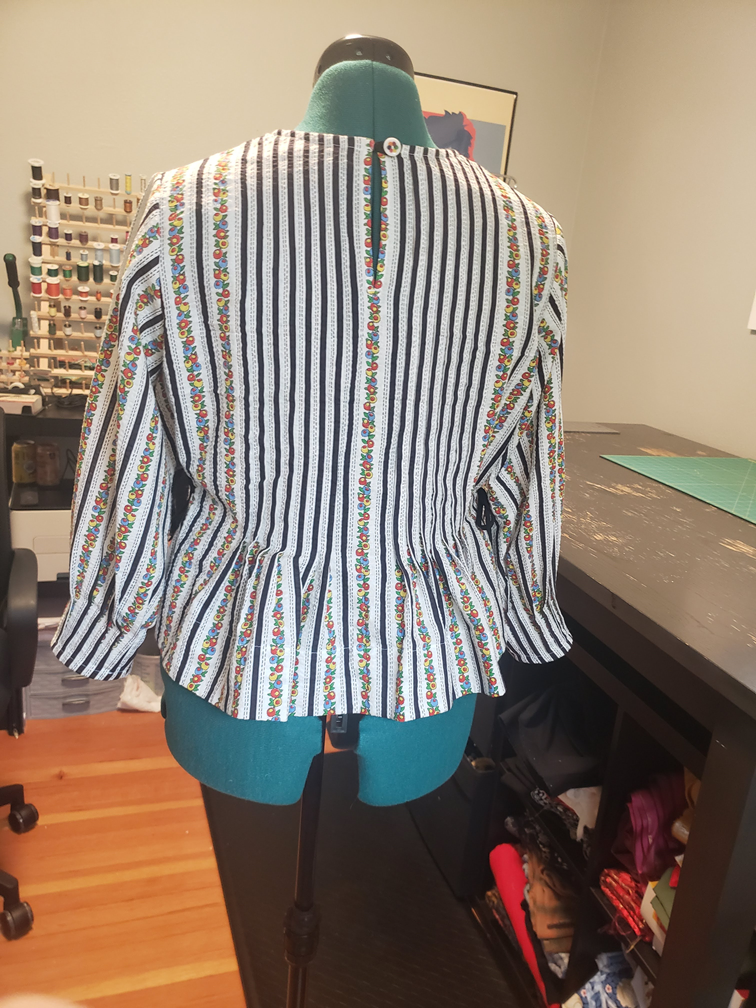
When I first saw this fabric, I fell in love. I bought it at the aforementioned sewing convention, at a booth that sold vintage fabrics. Pretty quickly I knew I wanted to take advantage of the fun stripes and do a pleated garment—the pleated sections would appear like simple black-and-white stripes, and then open up to reveal the colorful berries. At first, I chose vogue pattern (V1874), which is the one pictured in my digital sketch. The more I sat on it, though, the more I disliked it. Eventually I went on etsy to find an alternative, which is where I landed on the pleated Garden Blouse.
As suggested, I started with a muslin and chose a size based on my bust measurement, and upon deciding that I like the fit, moved on to my fashion fabric: projecting the pattern, tracing, cutting, pleating, ironing. It was a lot of work. The only change I made to the original pattern was doing 1/2 inch pleats instead of 1/4 inch pleats. This was pretty simple since it basically meant doing half the number of pleats. Less work for me!
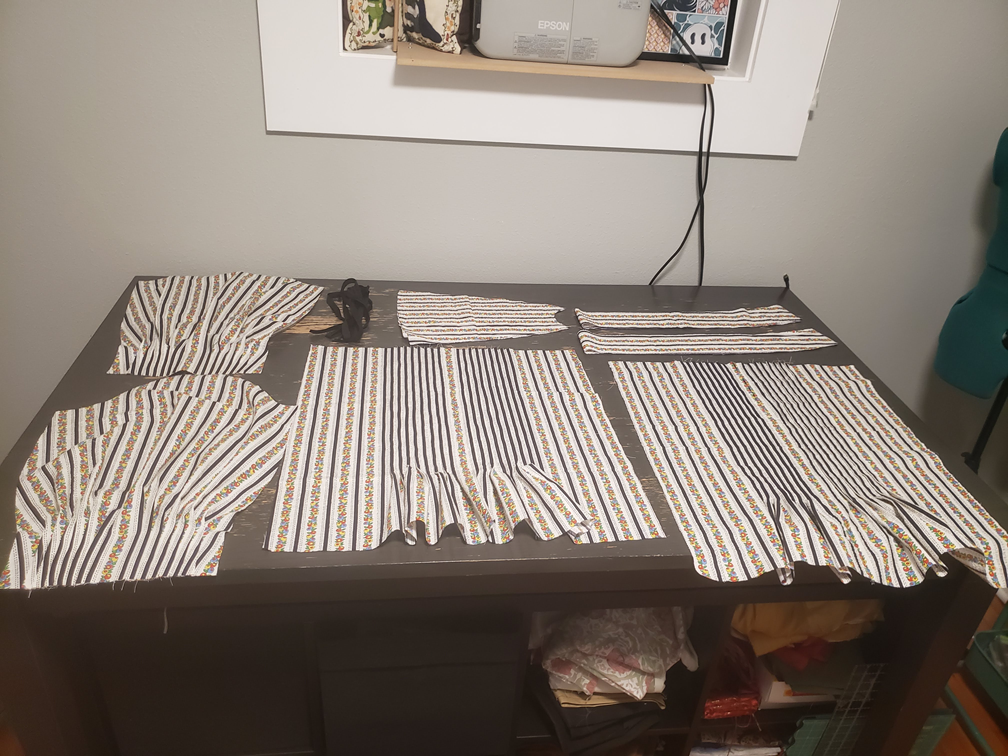

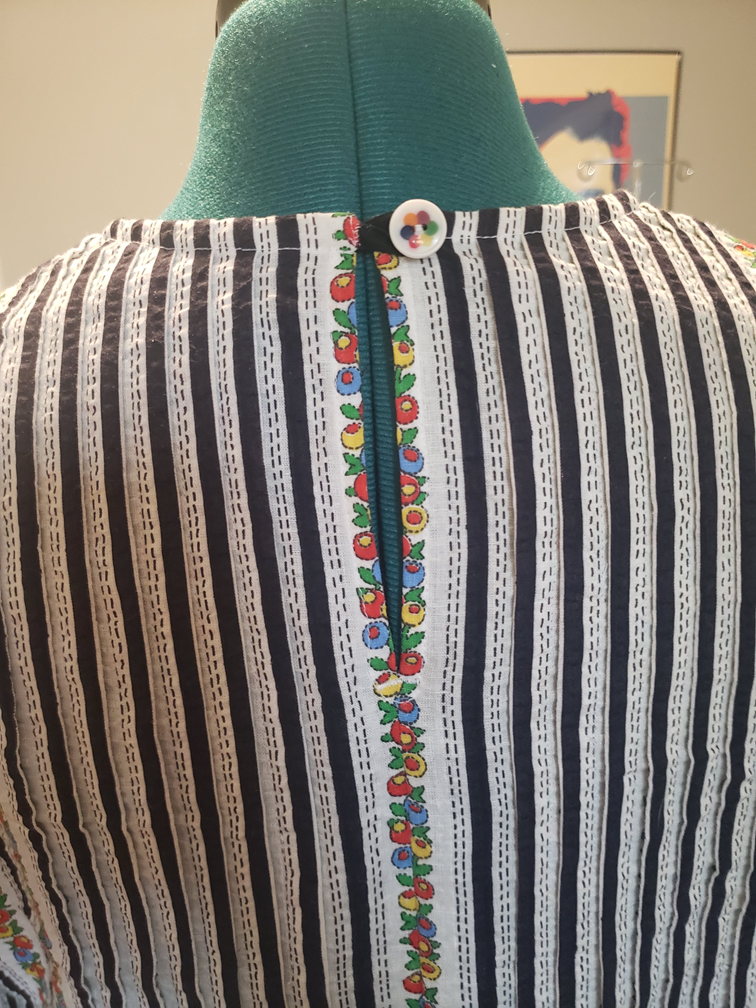
The second half was much quicker—the inside is beautifully finished with french seams, bindings, facings (the works!). As you can see, it is immaculate:
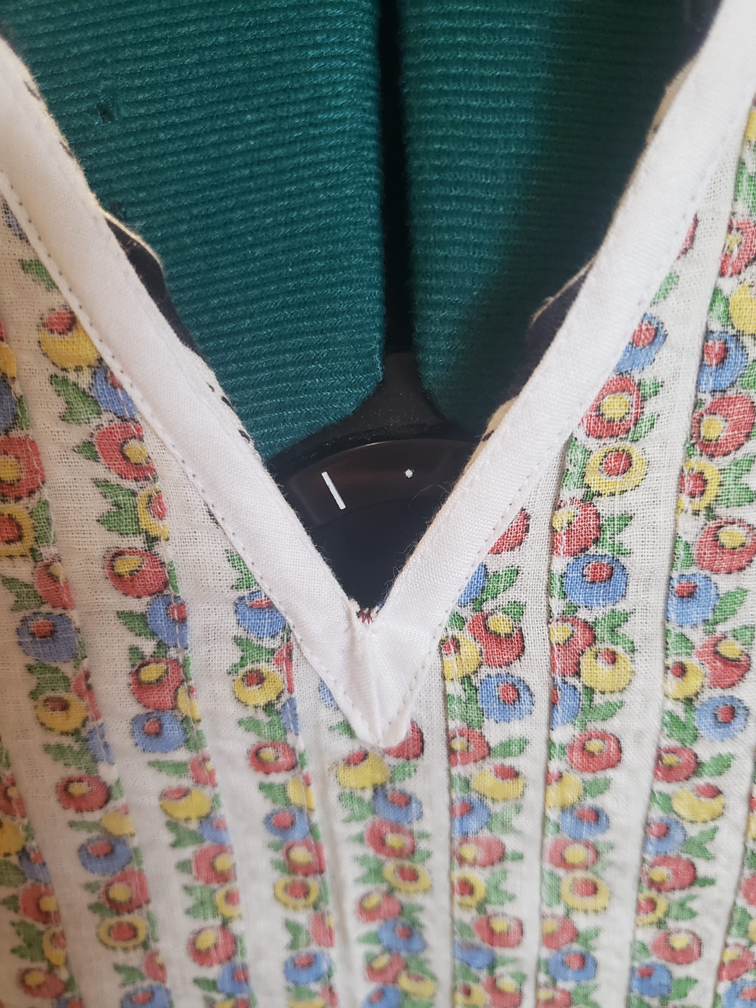
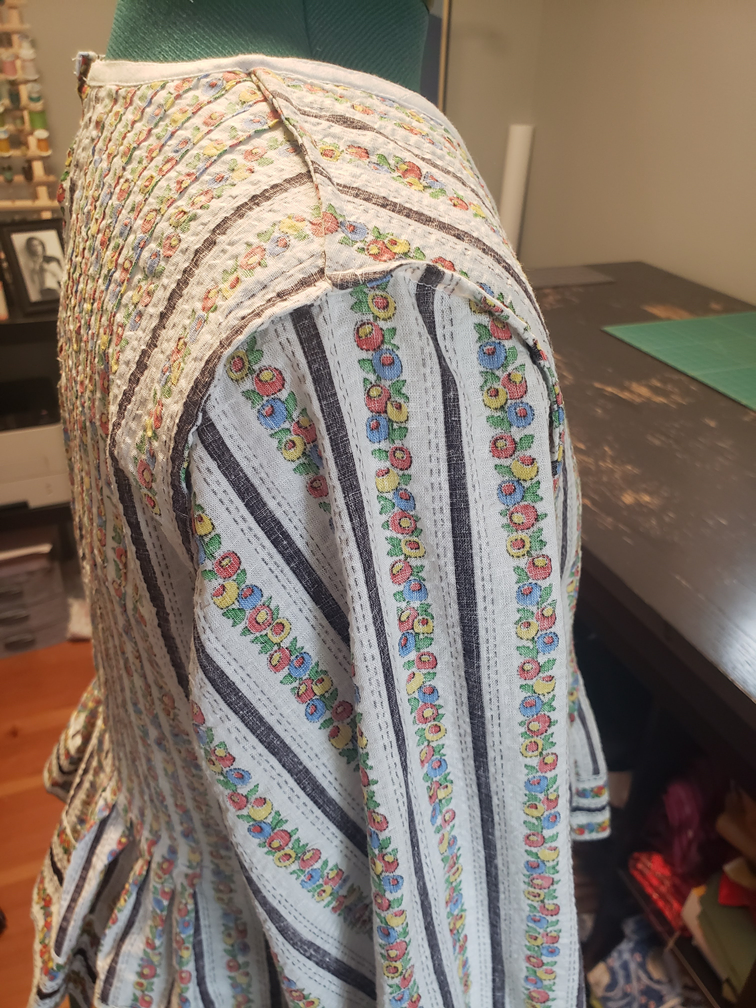
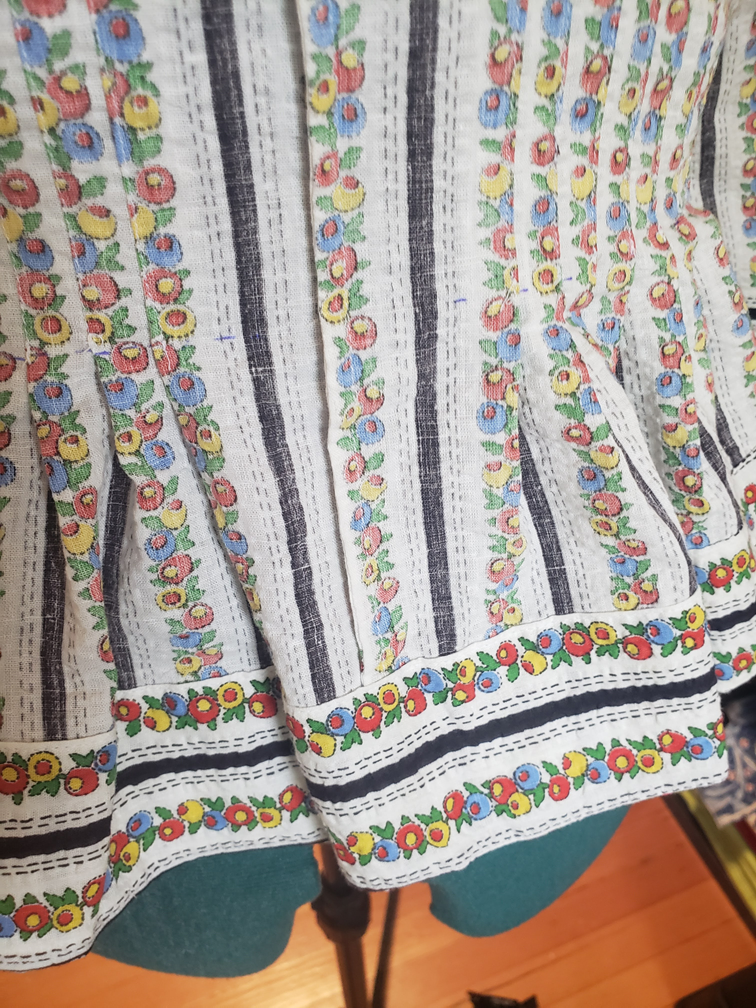
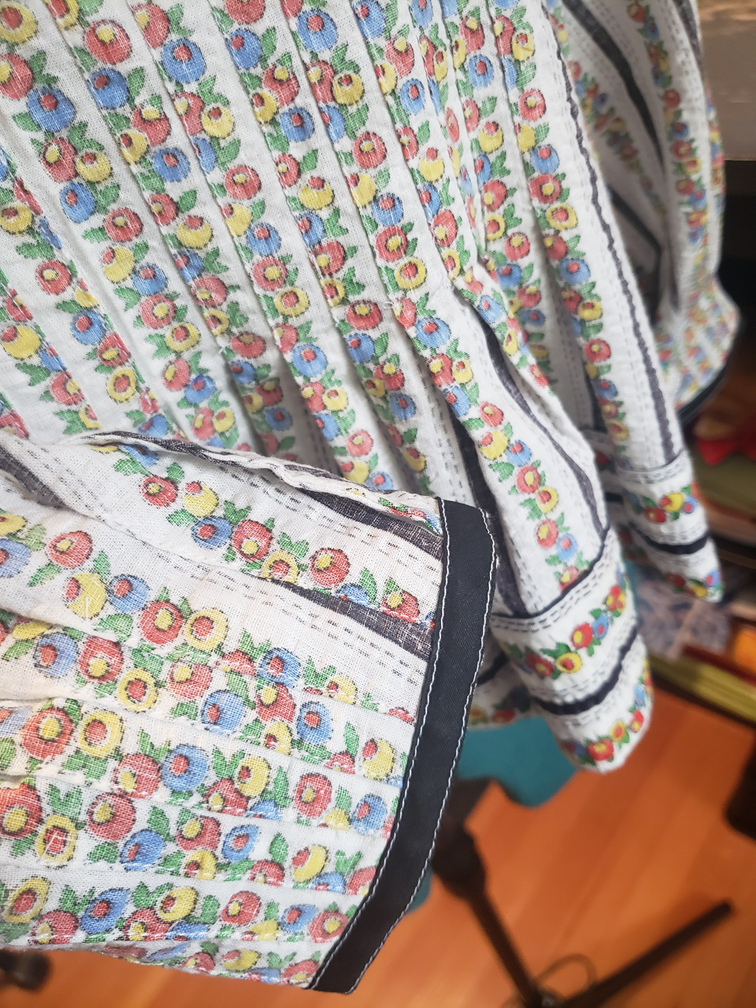
And the outside is pretty nice too ;)
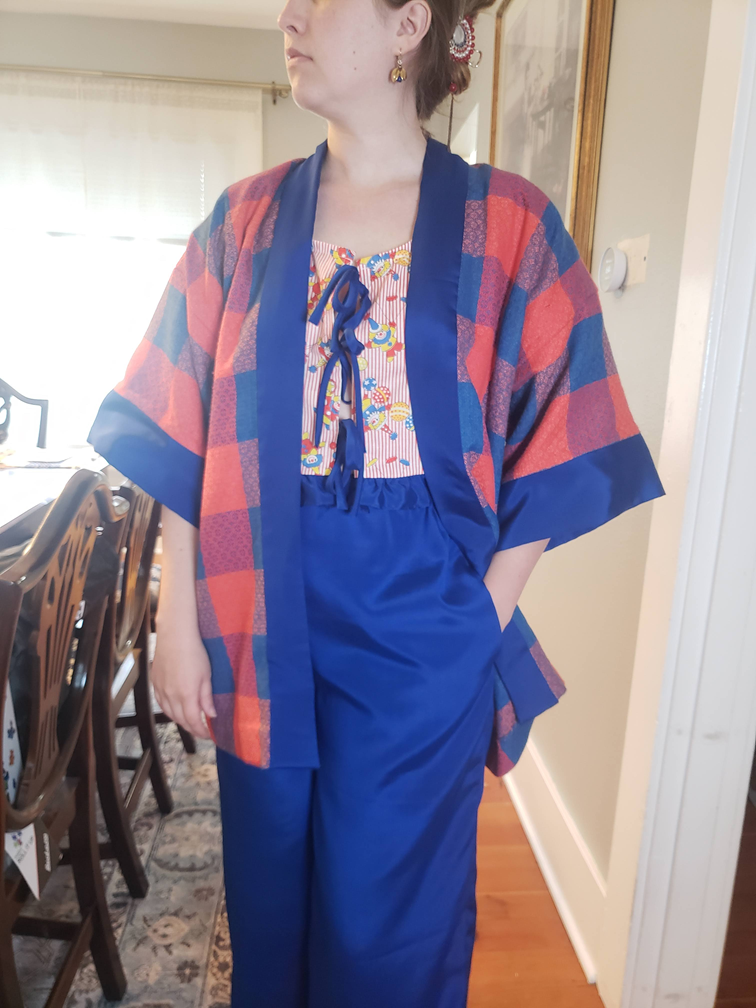
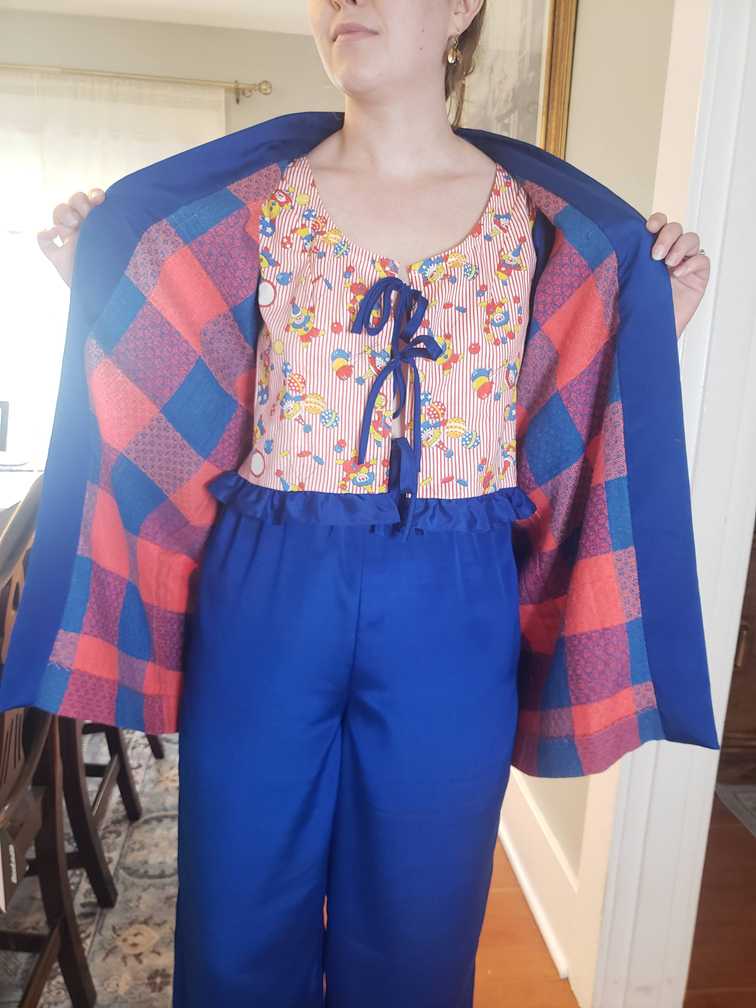
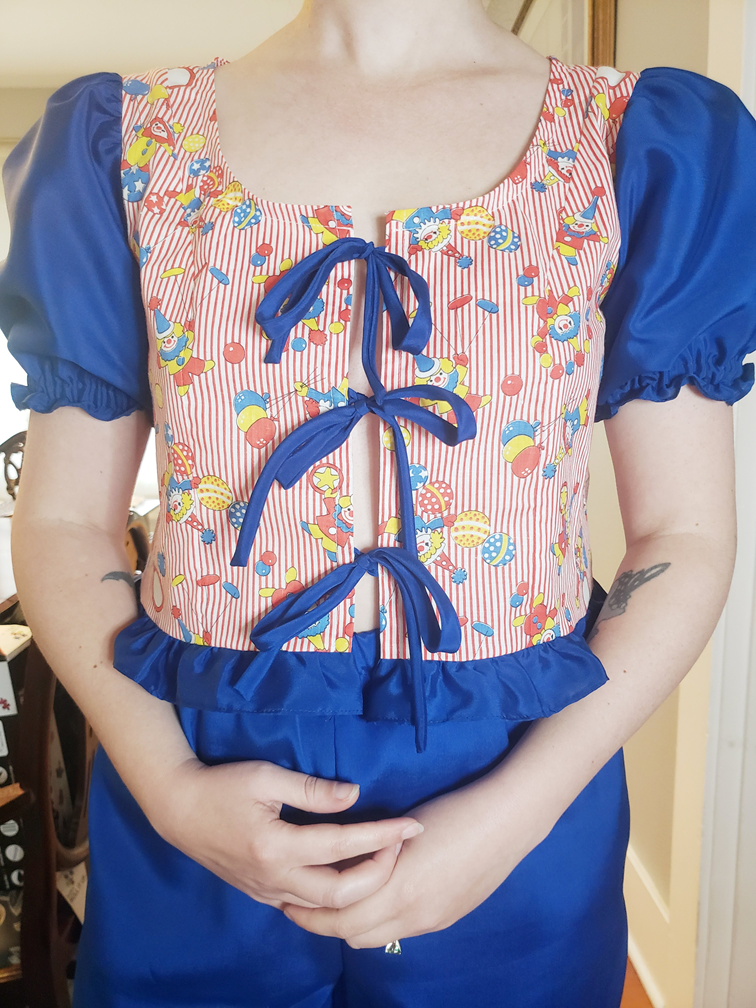
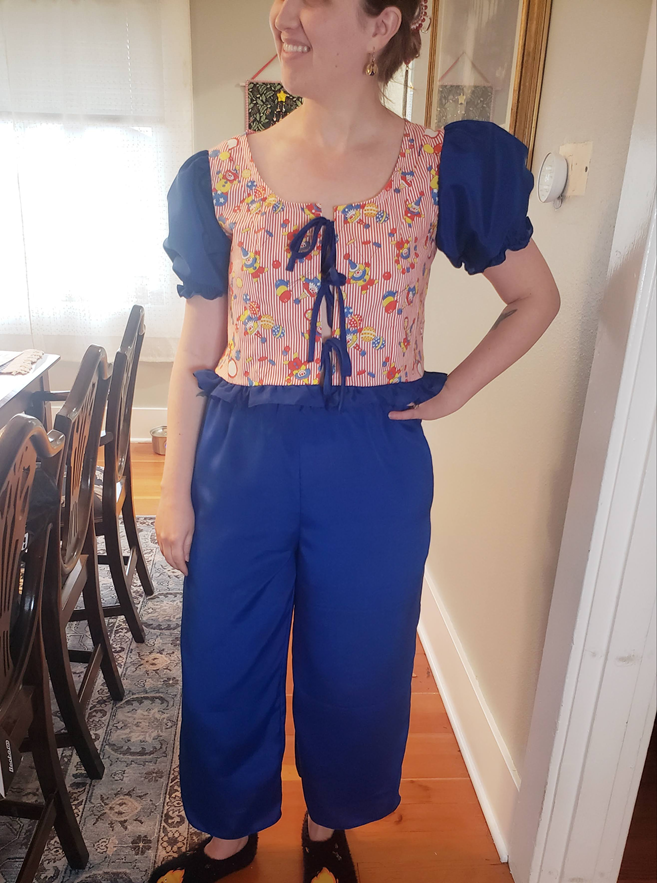
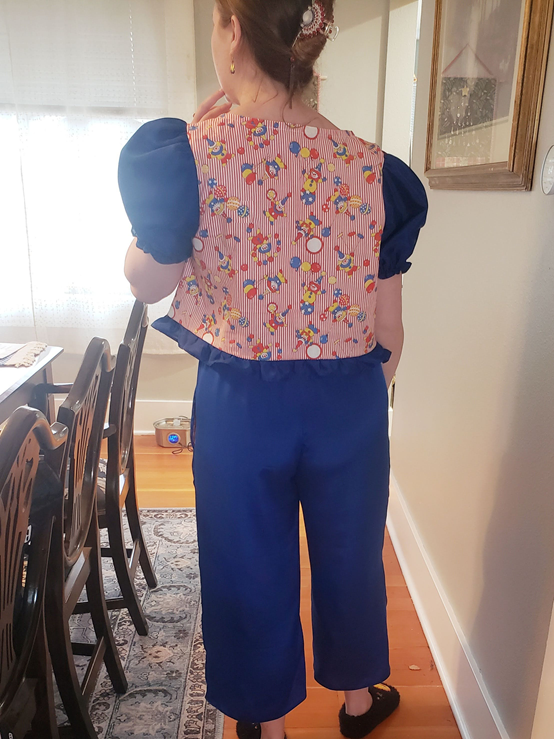
Bojangle Jammies
When I bought my striped fabric, I also came away with a cute clown print, but admittedly not very much. There was less than a yard left on the bolt, so after looking at the fabric requirements of my chosen pattern I realized there wasn't enough for the sleeves on the shirt, let alone a pair of shorts. And so, I had to use something else in my stash to supplement. I went with this beautiful blue mulberry silk that my partner brought back from India. Did this mean I would have to hand wash my pajamas?...yeeees. But I just couldn't resist! You have to understand—it was so soft! I also had to flatline everything with cotton because the silk was so lightweight and transparent.
The pattern I used was Matchy Matchy Ruffle Brunch Set. I like the look of the pattern, but my one gripe is that it is somewhat lazily finished on the inside. You are told to serge or zigzag stitch all of the raw edges, which I did end up doing, but I wasn't jazzed about it. As with seamingly [;)] every project, I made a small mistake. When I was serging the ruffle seam allowance, the trimming knife caught some fabric on the back. Luckliy I was able to put a little patch over the hole, and it's pretty unnoticeable, so not the end of the world. I kind of wish I had done french seams instead. Oh well!
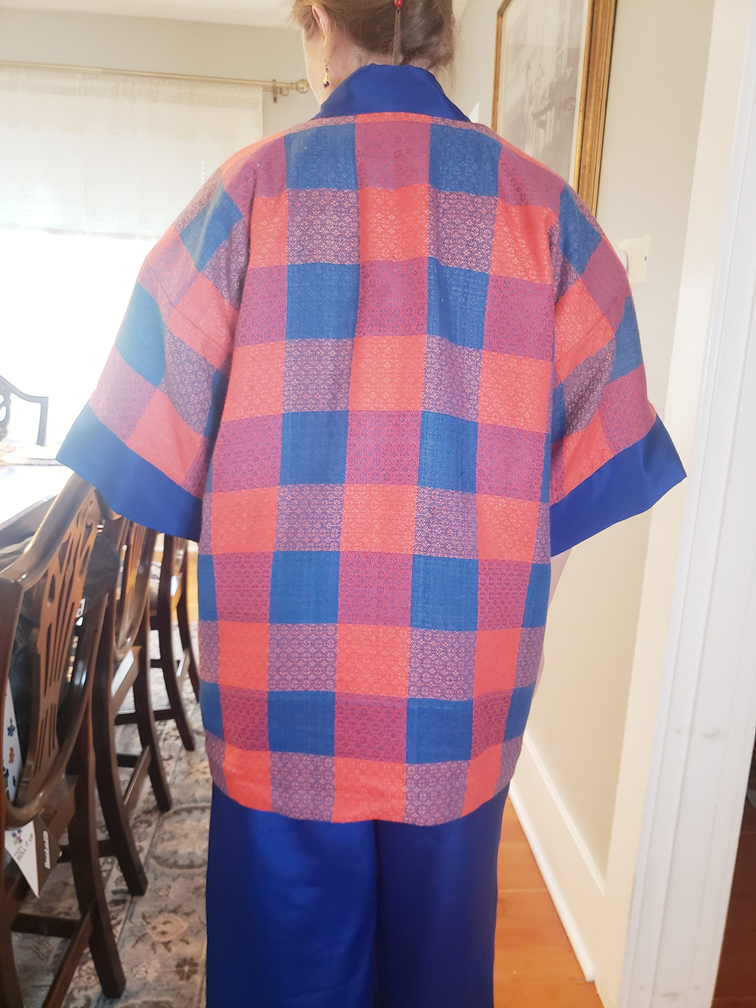
I love how the puffed sleeves turned out. They were lined with a stiffer cotton than the gingham I used for the pant lining, and they look extra voluminous as a result. And to complete my pajama set, I made a Japanese Hapi from some wool I found at an antique store. It seemed super high quality with bold colors, and the selvedge led me to believe that it was woven on a personal or small production loom. A great find!
Comments